This post is a part of my series “One Developer Platform, Many Devices“.
In this post, we will focus on the workflow of getting your APK from Flash Builder into the Barnes & Noble Nook Store. First, review the process for building an Android APK file within Flash Builder. However, there are a few additional steps to test your application on a nook device.
With the default settings, the Flash Builder (and the Android SDK) will not be able to detect you nook device as an Android tablet. In order to be able to deploy via USB, you must first register as a nook developer at https://nookdeveloper.barnesandnoble.com/, and also be sure to download the Android SDK from http://developer.android.com/sdk/index.html.
Once you are a registered developer, you will have access to tools that enable you to put your apps onto a nook device. First, you must download and install the Nook SDK add-on to the Android SDK.
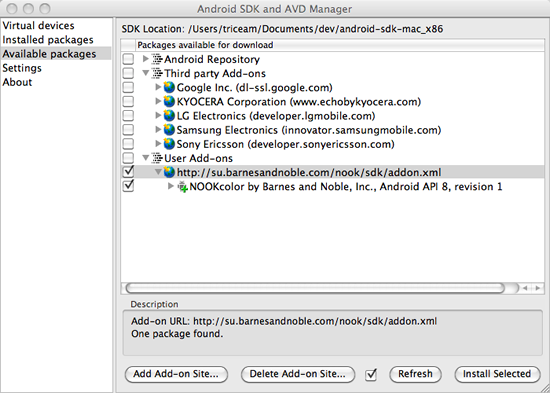
This will download and install the Nook SDK. Once installed, the installation process will need to restart ADB. Click “YES” and allow it to proceed through the restart process.

Once you are a registered developer, you will have tools accessible to enable “Developer Mode” on your device, which allows you to provision the device for development. Go to the “Developer Mode” section of the nook developer portal and enter the device names and serial numbers for your dev devices. From here you will be able to download a provisioning file.
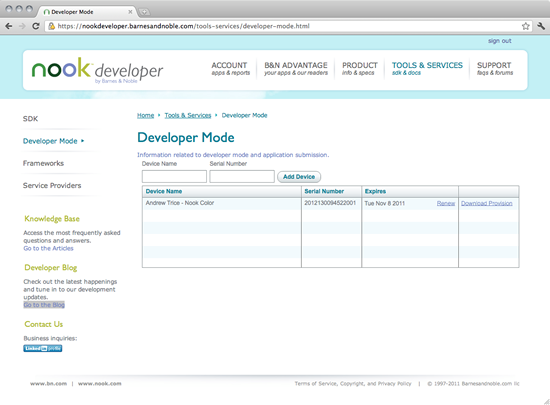
The provisioning file will allow you to deploy applications directly to the nook via USB. Attach the Nook Color device to your computer via a USB connection. The Nook Color device will show up as a device in Finder. Copy the provision.cmd file that you downloaded from the “Developer Mode” provisioning portal directly into the root of the Nook Color device.

Next, eject/unmount the Nook Color device. Now, use the tools within the Android SDK to restart ADB (Android Debug Bridge):
./adb kill-server

./adb start-server
Once ADB has restarted, use the “adb devices” command to list all connected Android devices (The Nook Color device must still be connect via USB, even though it has been unmounted).
./adb devices
You should see your device listed in the output:

Now that you are able to view your Nook Color device using ADB, Flash Builder will also be able to deploy to it. You will be able to Run/Debug directly from Flash Builder and launch applications on the Nook Color device. This follows the normal Flash Builder debug process.
However, there is one trick… you may notice that if you go to the “apps” menu on the Nook color, you won’t see any of your applications deployed via USB. Don’t fret… they actually are on your device. There is just a trick to view them. From the “apps” menu, click on the “archived” button. A popup will be displayed here. Now, press and hold the “volume up” button. When the speaker appears on the screen (continue holding the volume button), tap on the speaker. When you tap on the speaker, the “extras” screen is displayed. (You can release the volume button now.) The “extras” screen will list all of your manually installed applications, and you will be able to re-launch your installed apps.
From here, you can generate your release-build APK as you normally would from Flash Builder. Once you have your APK generated and tested, you’re ready to prepare it for the Nook Store. Sign into the Nook Developer Portal, and go to the “Applications” section. Click on the “Add New Application” button.
First, you will need to enter the primary metadata for the application (name, type, price, version, etc…).
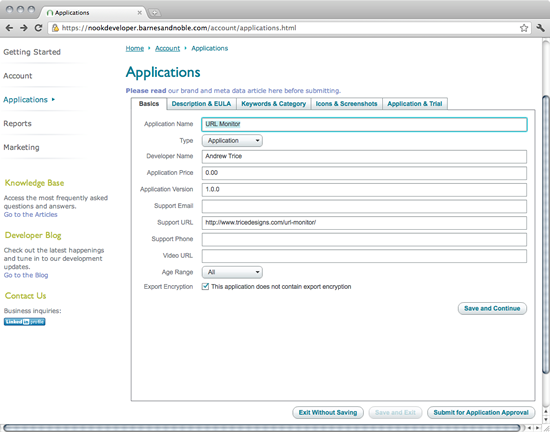
Once you have completed the basic information, click on “Save and Continue”, and you will be redirected to the “Description & EULA” tab. Enter an application description and an optional license agreement (I left this blank b/c I do not have any special terms for my app).

When ready, click “Save and Continue” to enter the “Keywords and Category” tab. On this screen, enter descriptive keywords and categories to help categorize your application within the Nook store.

When you have your categorical information all set, click “Save and Continue” to proceed to the “Icons & Screenshots” screen. Here you will need to set the application icon and add application screenshots.
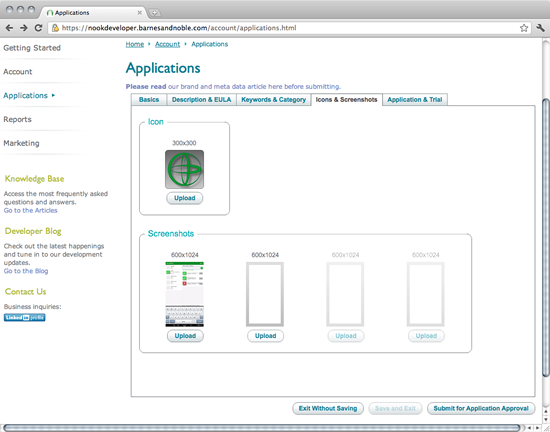
Now this is where the application approval process is a little different from other app stores. You need to click “Send for Application Approval”, and the application metadata must be approved before you can upload a binary APK file.
Once the application metadata is approved (this took about a week for my app), you will be able to upload the APK binary.

After you have uploaded and submitted the binary APK file, the binary file will need to be approved before it is actually available within the Nook store. The binary approval took another week+, so the overall approval process took over 2 weeks. Once approved, your application will appear in the nook store, and will be ready for public consumption!
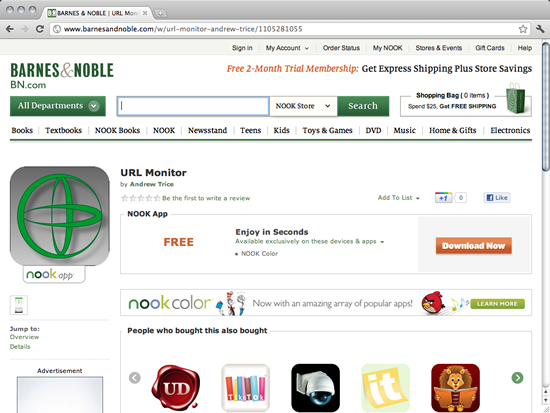
You can check it out live in the Nook Store at:
http://www.barnesandnoble.com/w/url-monitor-andrew-trice/1105281055
